These. Are. Amazing.
I had an extended weekend to go see Chris Stapleton (voice of an angel) and was able to do a little cooking which you know I love. These are actually not that crazy hard to make and they were packed with garlic/butter yumminess. The process uses my instant pot but you could easily bake these the entire time it would just take FOREVER which I am not a fan of. The sauce is what is really the superstar here it makes these lip smacking good!
What you need~
1 large family size pack of chicken drumsticks (about 16 pieces)
1 teaspoon garlic powder
1 teaspoon of onion powder
1 teaspoon salt
1 teaspoon pepper
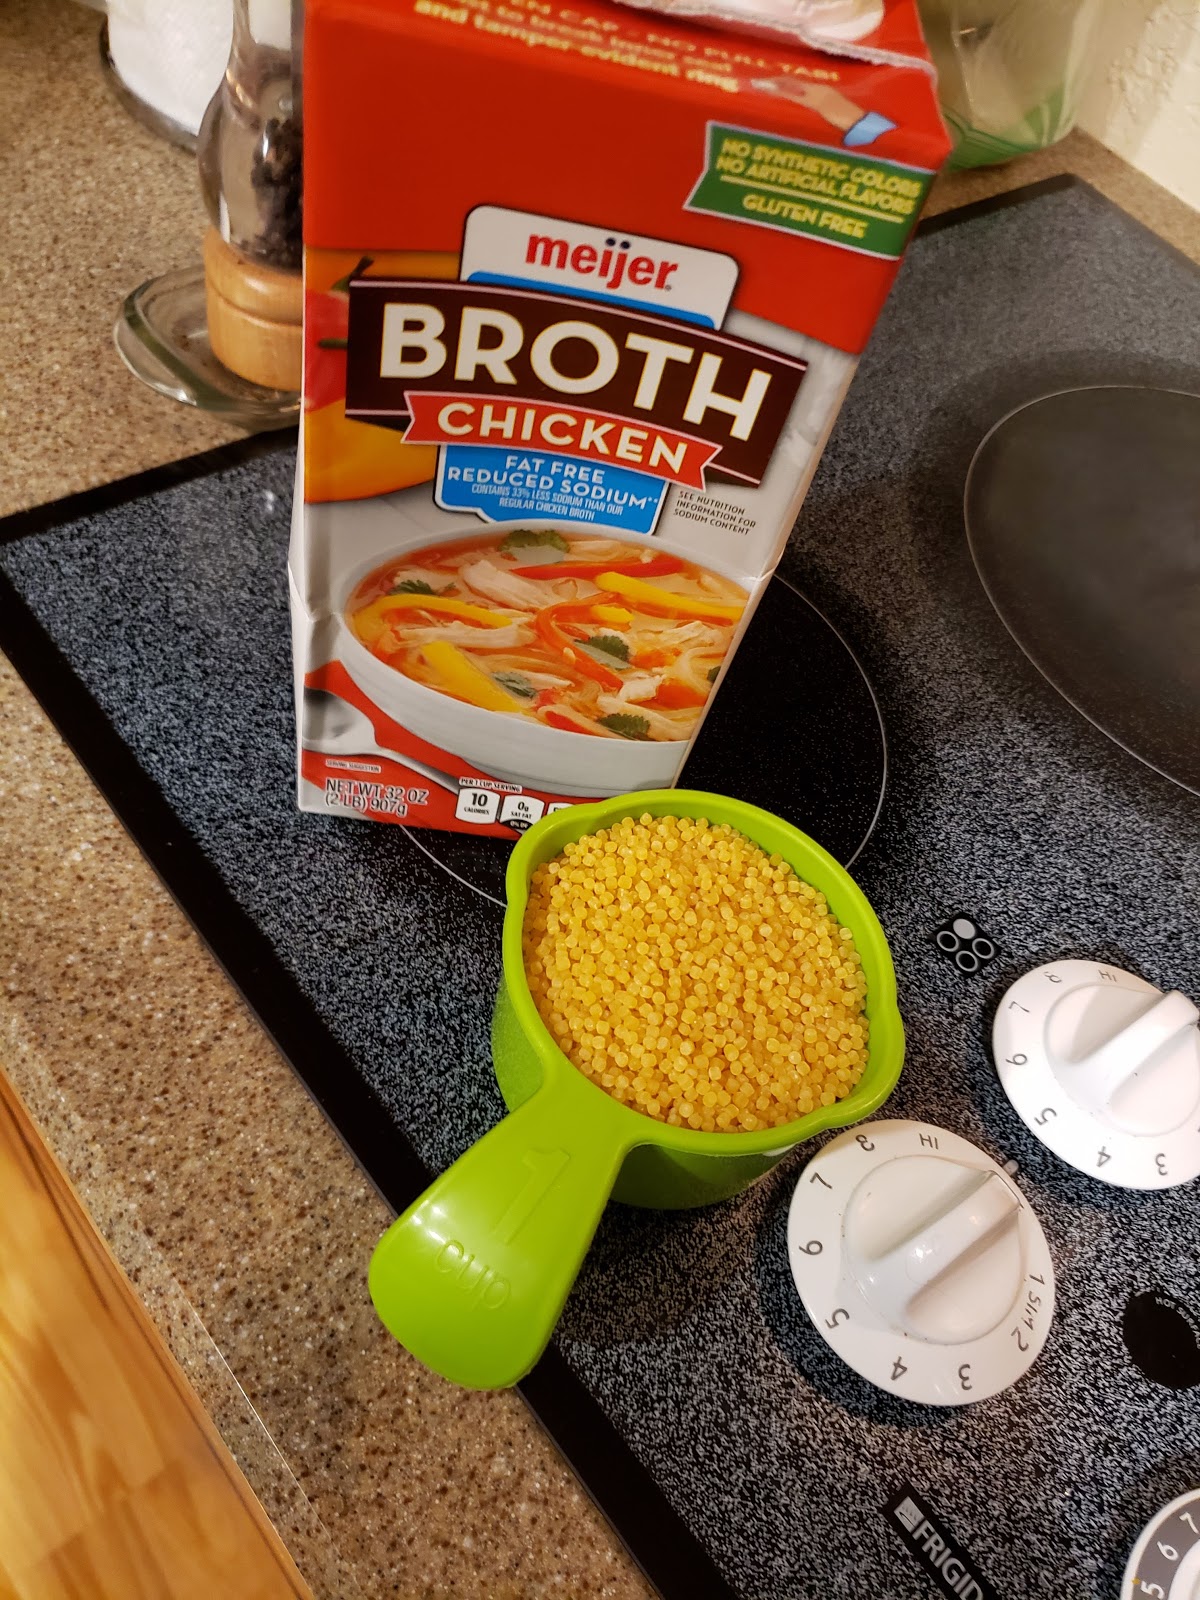
1 cup chicken broth or water
For sauce~
8 cloves of garlic (minced)
4 tablespoons of butter melted
4 tablespoons of olive oil
1 teaspoon of salt
To finish~
Parmesan cheese (about 1 cup)
Optional first step-
Remove the skin off of the chicken. This not only makes it healthier it just for me makes the chicken taste better. Unless I am deep frying the skin I am not a big fan. I remove this by pulling the skin down with a piece of paper towel and off the bottom bone joint.
Once you do this place the chicken pieces in a large bowl and season with the seasonings (garlic/onion powder, salt and pepper). Place the trivet in the instant pot and pour the cup of broth in the bottom. Layer in the seasoned chicken pieces. Set the instant pot to pressure for 6 minutes. While that is going pre-heat the oven to 525 degrees F. Get a big sheet pan lined with parchment paper. Once the instant pot is done do a quick release of the pressure and remove the chicken drumsticks back into a large bowl (wash the bowl after using with the raw chicken from before). I then minced the garlic, melted butter, olive oil and salt in my food processor before pouring over the chicken drumsticks in the giant bowl. Toss the chicken around and then place on the sheet pan spaced apart. I then use the remaining sauce to baste the chicken before placing in the oven for 15 minutes. Check after 15. I decided to cook mine for 20 before removing from the oven. Sprinkle the cheese over the top of those beauties before eating them up. Perfect for a party!
Here are some pictures that will make your mouth water!
 |
| This is after the instant pot. It partially cooked them. |
 |
| Ready for the oven! |
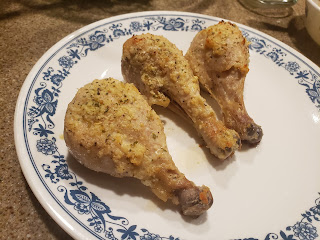 |
| Yep. Hello. Yum! |
I hope you take some time to cook this week or do something that brings you joy. Tonight soup!
Until next time~
XoXo Emily